August 19, 2026 · Texas Autopsy Services
Forensic Photography: Autopsy & Death Investigation Guide
Master forensic photography for autopsies and death investigations. Learn equipment, lighting, and chain of custody for court-ready documentation.
On this page
- Why Forensic Photography Demands a Different Approach
- Selecting Equipment for Autopsy and Scene Documentation
- Executing the Three-Tier Shooting Sequence
- Preserving Digital Image Integrity and Chain of Custody
- Balancing Thorough Documentation Against Prejudicial Impact
- Implementing a Defensible Forensic Photography Workflow
A family may be waiting for answers after an unexpected death, while an attorney is already considering which records and images could withstand courtroom scrutiny. In that setting, a photograph isn't just a picture of an injury or autopsy finding. It can become a permanent medical and evidentiary record, reviewed long after the examination, by people who weren't present when the image was made.
At Texas Autopsy Services, we treat forensic photography as part of the examination itself. Our board-certified forensic pathologists use controlled documentation to preserve context, anatomical detail, and the condition of evidence. The same standard applies whether images support a private autopsy, a cause of death investigation, a second opinion autopsy, or a county forensic examination.
- Forensic images must be accurate and reproducible, not merely clear on a screen.
- A three-tier sequence, overview, mid-range, and close-up, preserves context and detail.
- Original digital files, metadata, logs, and chain-of-custody records are part of the evidence.
- Scales, markers, parallel alignment, and controlled lighting reduce distortion and ambiguity.
- Complete documentation must still be balanced against prejudicial impact in court.
- Independent forensic pathology services can help families, attorneys, healthcare professionals, and Texas counties obtain carefully documented findings.
Why Forensic Photography Demands a Different Approach
An autopsy image may be reviewed months or years after the examination, often by people who were not present. The team must preserve the body's condition, document findings before interpretation shapes perception, and create a record that can withstand courtroom examination. Broad views establish identity, position, and overall condition. Focused images then document injuries, surgical sites, identifying marks, and other relevant findings.
Forensic photography therefore serves a different purpose from ordinary photography. The photographer selects angles that preserve anatomical relationships, scale, lighting accuracy, and later interpretability, rather than choosing the most striking view. A visually compelling image without context can confuse a jury or invite an inaccurate conclusion.
Practical rule: The photograph should show what was present, where it was present, and how it appeared before collection, alteration, or reconstruction.
Photography entered legal and police work as a documentary tool during the mid-19th century. In 1851, a photograph was admitted in Belgium to help prove that a document had been forged. By 1859, U.S. courts were accepting photographs as evidence. The first recorded U.S. case involved a photograph used to show that a land-grant title document was a forgery. (Forensic Science Simplified)
From documentation to evidentiary method
The method soon extended beyond documents. The first recorded use of an accident-scene photograph occurred in 1875. In the 1880s, Alphonse Bertillon introduced controlled lighting, scale, and angles into criminal photography, making identification images more consistent. By 1910, photographic speed recorders were being used to detect speeding drivers.
The technology later shifted from film to digital systems. The Australian Federal Police identifies 1988 as the point when crime-scene photography moved from black-and-white to color, and 2002 as another major development, when 3D laser imaging was used at major incident scenes. Historical summaries identify the Fuji DS-1P as the first digital camera to record images as a computer file in 1988. The Kodak DCS series brought a commercial digital SLR to market in 1992 with a 1-megapixel sensor. (Australian Federal Police)
Digital systems allow rapid review and duplication, but they also create an evidentiary risk. A file can be copied, processed, exported, or renamed without an obvious change to its appearance. In an autopsy or scene investigation, that makes the photographer's method, original-file preservation, metadata, audit trail, and chain-of-custody documentation part of admissibility. The image must retain probative value without relying on emotional impact. Clear context and controlled presentation help the court evaluate what the photograph proves, rather than react only to what it depicts.
Selecting Equipment for Autopsy and Scene Documentation
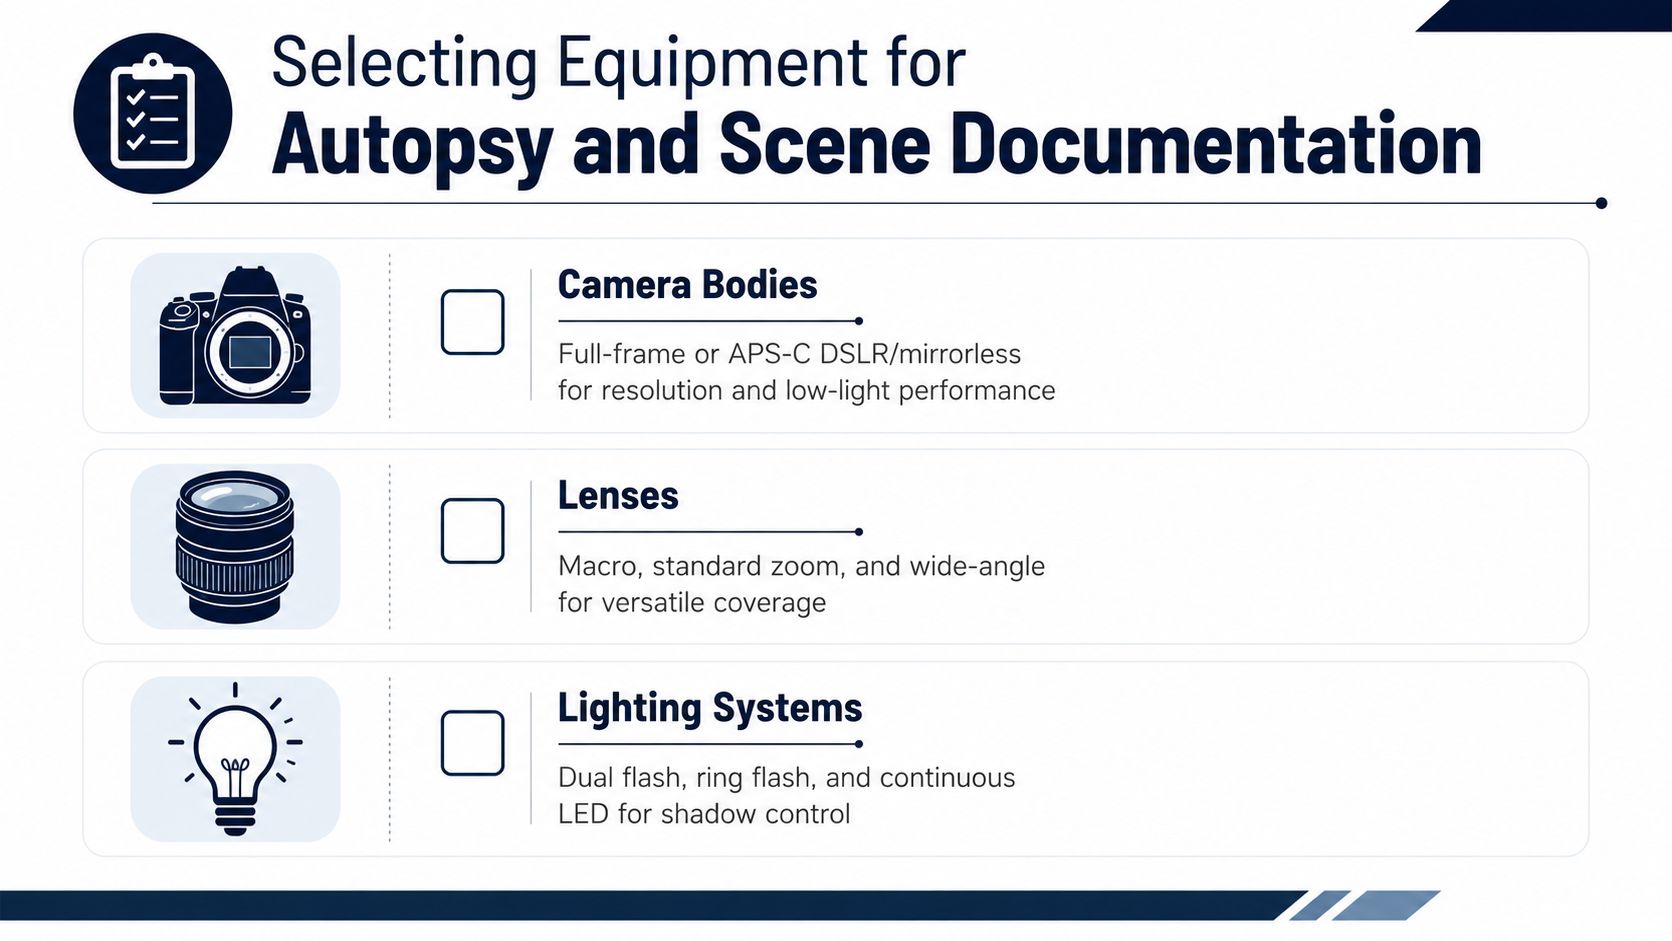
Reliable forensic photography starts with equipment that permits control. A full-frame or APS-C DSLR or mirrorless camera with manual exposure, focus, and white-balance controls is appropriate for many autopsy and scene settings. The specific brand matters less than the ability to produce sharp, properly exposed images and preserve the original files without relying on automatic processing that may change color or detail.
A standard zoom lens helps document rooms, bodies, and relationships between objects. A moderate focal length is generally preferable for injury documentation because it reduces the exaggerated perspective that wide-angle lenses can produce at close range. A macro lens serves a different purpose. It allows the photographer to record fine details such as patterned injuries, wound margins, small abrasions, trace material, and other findings that may be lost in a general image.
Build the kit around control
Lighting should reveal detail without creating misleading contrast. Diffused flash can provide even illumination in a confined autopsy suite, while a ring flash can reduce shadows around close-up subjects. Adjustable LED panels help when continuous light is useful for positioning, color review, or scene work. No single system is ideal for every finding. Hard, direct light may emphasize texture but can also deepen shadows, while flat light may conceal surface changes.
Essential accessories include:
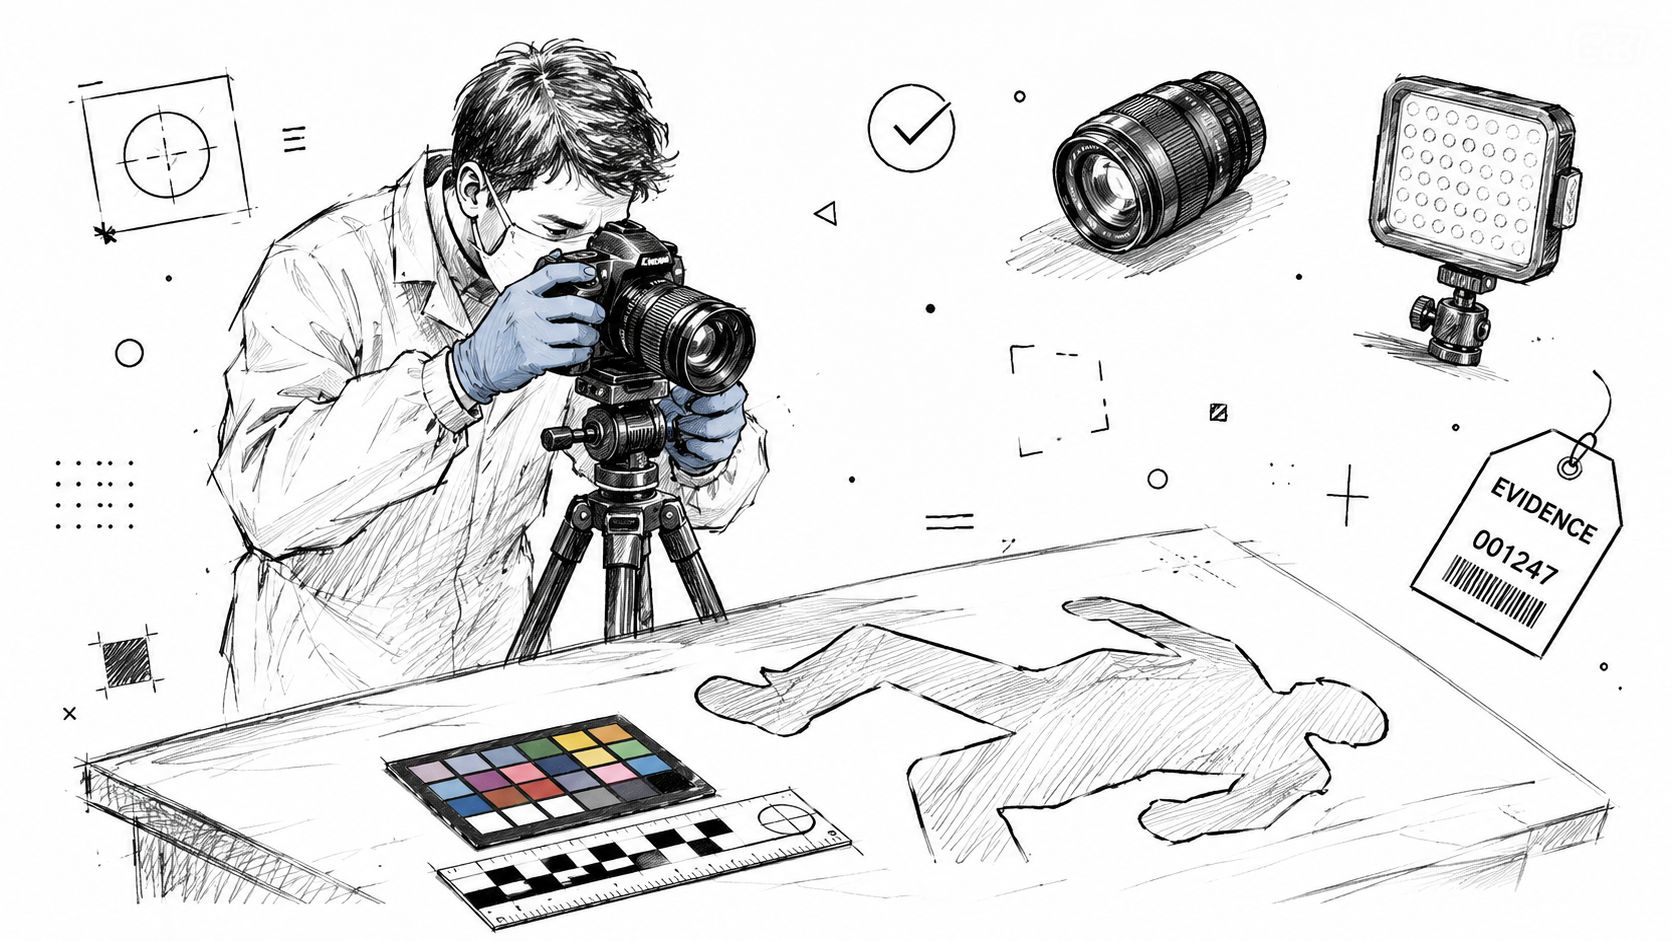
- Scales: Place a forensic scale in the same plane as the subject whenever size matters.
- Color reference cards: Include a color standard when accurate color comparison may become important.
- Markers and case identifiers: Use them to connect images to the correct examination without covering the finding.
- Tripods: A tripod can improve consistency when the camera position must remain stable.
- Spare batteries and storage media: Equipment failure shouldn't interrupt a carefully sequenced examination.
- Protective covers and cleaning supplies: Autopsy work requires protection for equipment and a clean optical path.
A phone may be useful in limited clinical documentation, but personal-device storage creates avoidable privacy and custody concerns. For medicolegal work, the system should route images into controlled case storage, retain the source files, and record who handled them. Equipment should support the workflow rather than encourage shortcuts.
At Texas Autopsy Services, our Elgin facility supports digital imaging as part of autopsy documentation, with secure case records and licensed professionals handling related logistics. The appropriate setup will still depend on the examination, the findings, and the legal purpose of the photographs.
Executing the Three-Tier Shooting Sequence
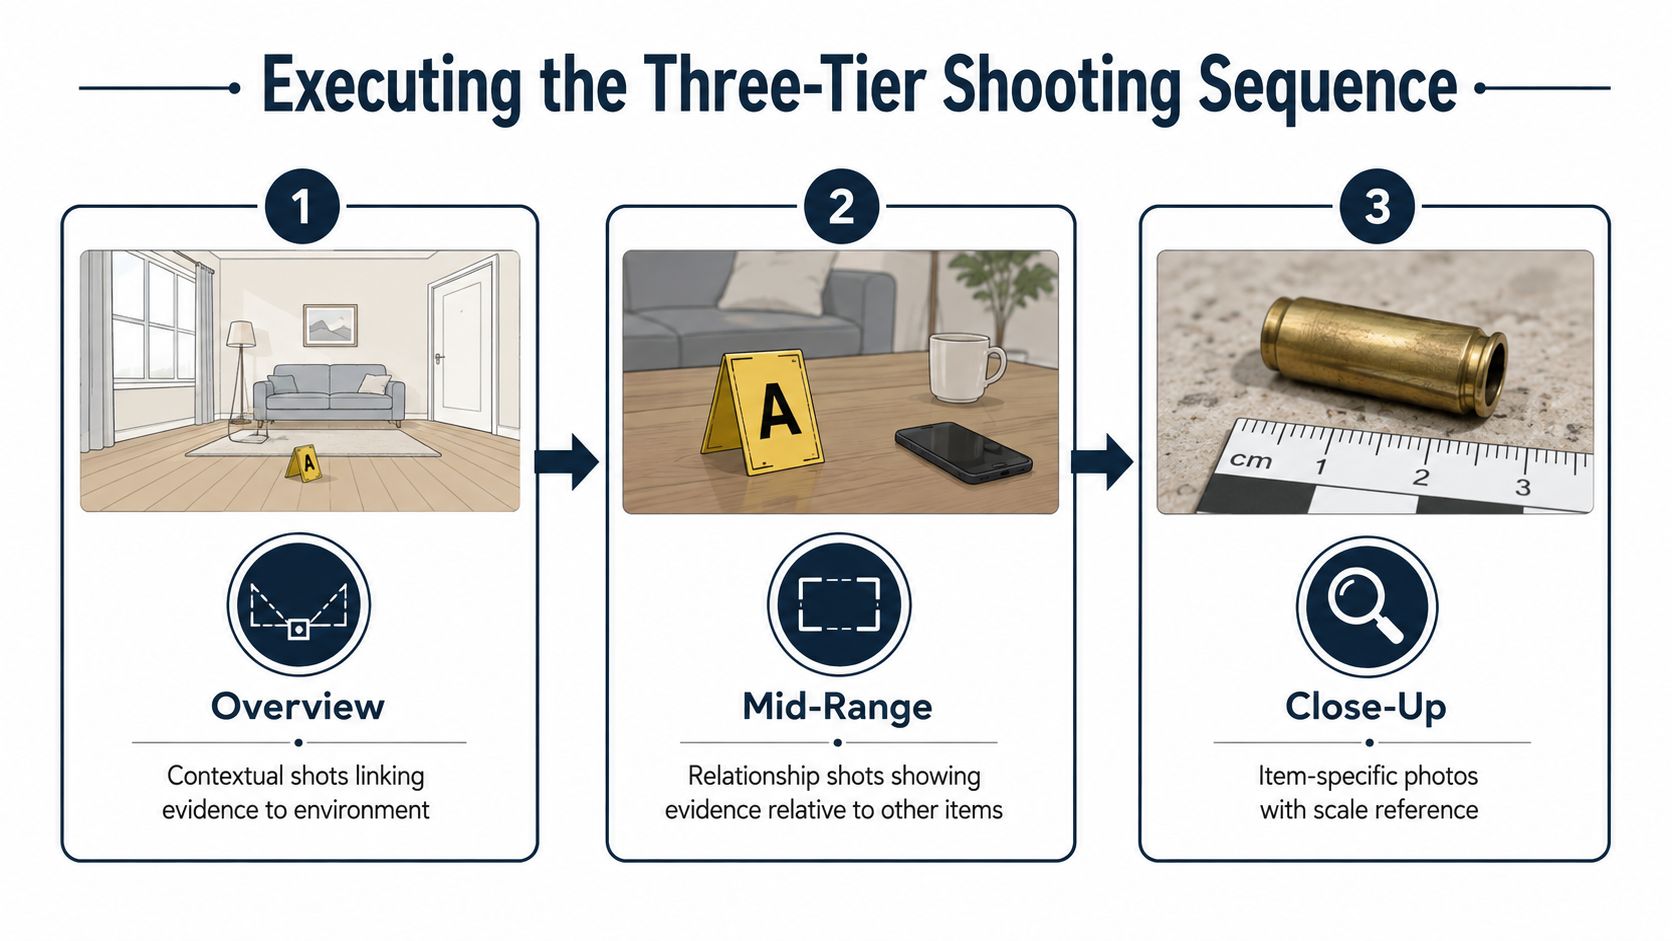
The most dependable sequence moves from the broadest view to the most detailed one. This order preserves the condition and relationships of the subject before close examination, collection, repositioning, or other changes occur. Training guidance commonly uses at least three views per scene area, overview, mid-range, and close-up, and at least two images of each evidence item in many workflows. (Forensic photography guidance)
Begin with the scene as found
Overview images establish location and condition. In an autopsy, they may document the body in the examination setting, the overall external condition, and relevant identifiers. At a scene, they show the room, surrounding area, entrances, exits, and the relationship between evidence and its environment.
Mid-range images connect the finding to nearby structures or objects. An injury may be shown in relation to the body region, while an item at a scene may be photographed in relation to furniture, a doorway, or another fixed point. These images help someone who wasn't present understand spatial relationships.
Close-up images record the finding itself. Use a scale when size matters, but photograph the item both with and without markers. A marker can identify evidence, yet it can also cover an edge or obscure a feature. The unmarked image preserves the finding without that interference.
For close-ups, align the camera sensor plane parallel to the subject, scale, and relevant surface. This right-angle approach reduces perspective error. If the scale tilts away from the subject, or the camera views the finding obliquely, measurements and shape can appear distorted. Sharp focus, correct exposure, and even illumination matter especially when images may later support measurement or photogrammetry. (Crime scene photography guide)
A consistent photo log should record the image subject, time, case identifier, and relevant camera information. Don't move or reconfigure an object before the first image. Don't change settings without documenting the change, and don't assume a technically sharp photograph is complete if it fails to show context.
The sequence is designed to prevent a common evidentiary problem: a close-up that cannot be connected confidently to the original scene or body. The following video provides a visual reference for the progression from contextual documentation to detail capture.
Preserving Digital Image Integrity and Chain of Custody
Digital photographs require more than a file name and a secure folder. Image integrity means that the file remains complete and unaltered from acquisition or generation through its life cycle. SWGDE guidance directs agencies to limit access to appropriate personnel and document the steps used to secure imagery, including chain of custody. (SWGDE best practices)
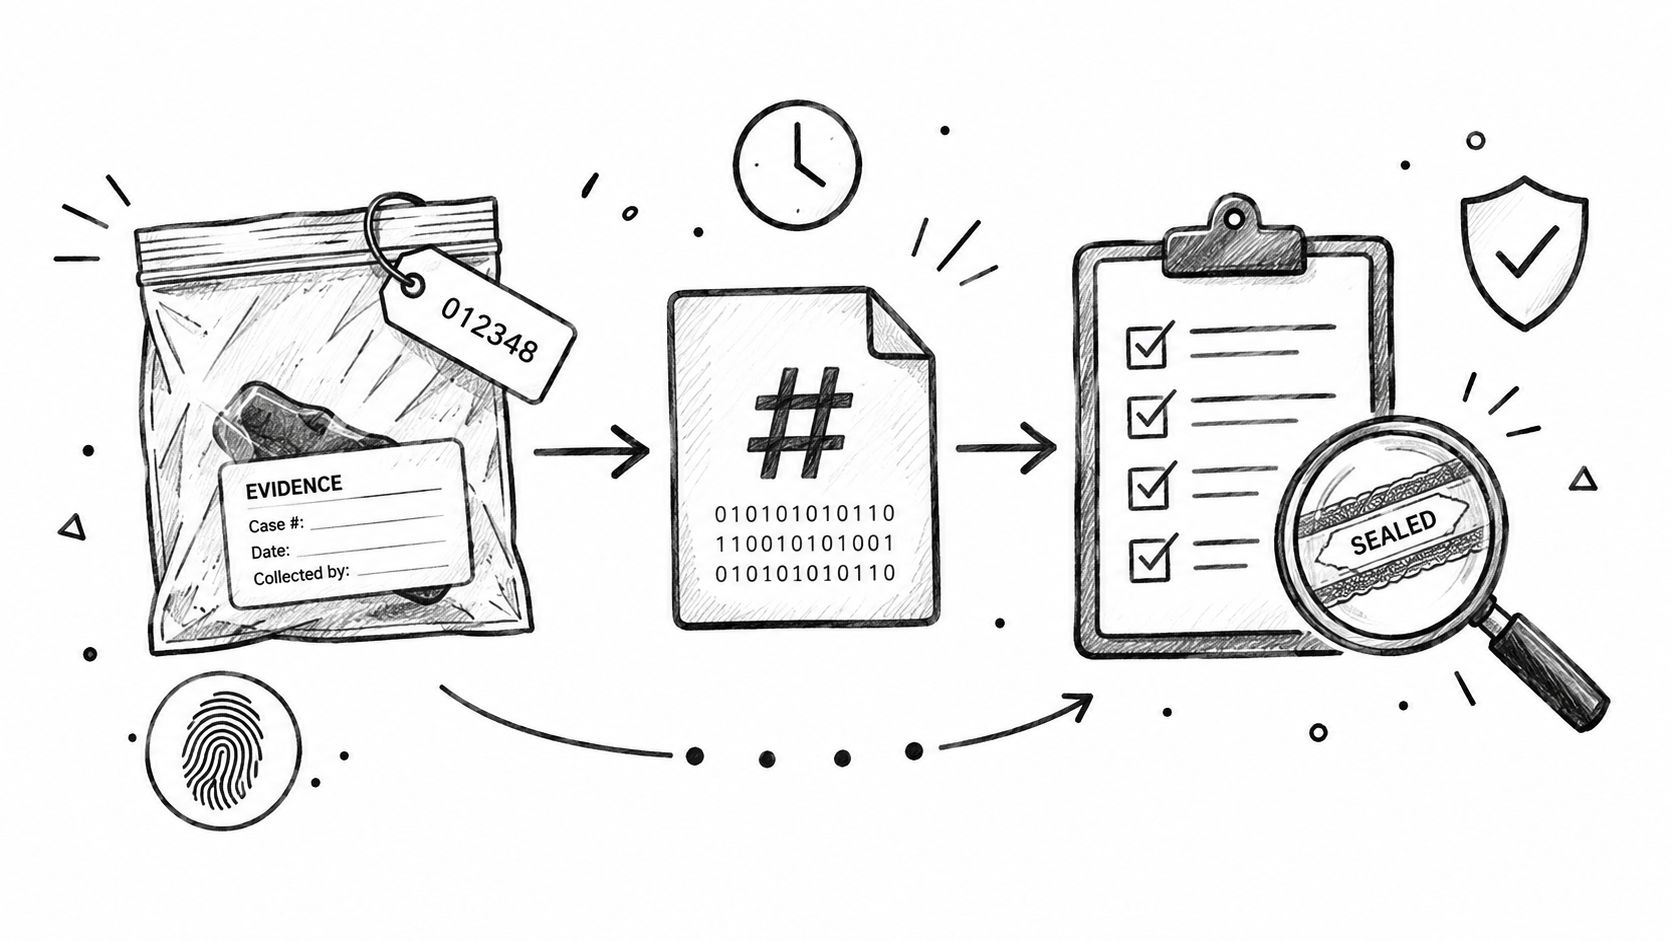
A chain of custody is the chronological record showing who collected, accessed, transferred, stored, released, or otherwise handled evidence. For images, that record should connect the camera or source device to the preserved file, the working copy, the report, and any authorized disclosure. It should also explain what happened when an image was exported, converted, enhanced, or placed into a presentation.
Preserve the original, process a copy
Original RAW files should remain untouched. If an image requires cropping, brightness adjustment, annotation, or another form of processing, the work should occur on a copy. The original-image standard also requires processing steps to be documented well enough for a comparably trained person to understand and repeat them, while avoiding artifacts or lost detail that could mislead interpretation. (ASTM E2825 guidance)
NIST and OSAC guidance recommends securing access through physical or logical barriers, documenting image release under chain-of-custody policies, establishing a baseline for integrity through hashing or another fixity check, and retaining all images as case documentation. (NIST and OSAC digital image management guide)
In practical terms, the workflow should include:
- Controlled intake: Transfer files into authorized case storage without deleting the source.
- Integrity baseline: Generate and retain a hash or comparable fixity record.
- Working copies: Perform necessary processing only on duplicates.
- Access records: Limit access and record each authorized handling event.
- Complete retention: Keep original and processed images with the case documentation.
A useful explanation of related evidence handling is available in our chain-of-custody procedures. The legal question isn't whether digital images can be edited in theory. It is whether the party offering them can explain their origin, handling, accuracy, and relationship to the examination.
Balancing Thorough Documentation Against Prejudicial Impact
Complete documentation doesn't mean every photograph belongs in a courtroom presentation. Research on gruesome forensic and autopsy photographs found a small but statistically significant increase in guilty or liable verdicts or punishment across a meta-analysis of 23 studies and 4,868 participants. (Meta-analysis of gruesome photographs and decision-making)
That finding creates a real trade-off. An image may clarify the location or severity of an injury, support an interpretation of disease, or show the absence of an expected finding. The same image may also evoke an emotional response that exceeds its medical or factual value. Attorneys and experts should distinguish between photographs needed to establish a fact and photographs included only because they are dramatic.
Use selection as part of documentation
The complete image set should be preserved, while the report or courtroom presentation may use a more focused selection. Framing, scale placement, lighting, and anatomical orientation can make an image easier to understand without altering the underlying evidence. A neutral description should accompany the photograph so viewers aren't left to infer significance from appearance alone.
Autopsy photographs should also be handled with dignity. Families may need access to records, but public circulation of graphic images can cause additional harm and may compromise privacy. Our discussion of real autopsy photographs addresses why protected handling and context matter.
Court proceedings may also involve translated interviews, recorded statements, or other audio evidence. Accurate speaker attribution in transcripts can help distinguish who made a statement, which is separate from interpreting what an autopsy photograph shows. Both records require careful identification and preservation.
The proper standard is neither concealment nor sensational display. It is probative value, accurate context, respectful presentation, and documented selection.
Implementing a Defensible Forensic Photography Workflow
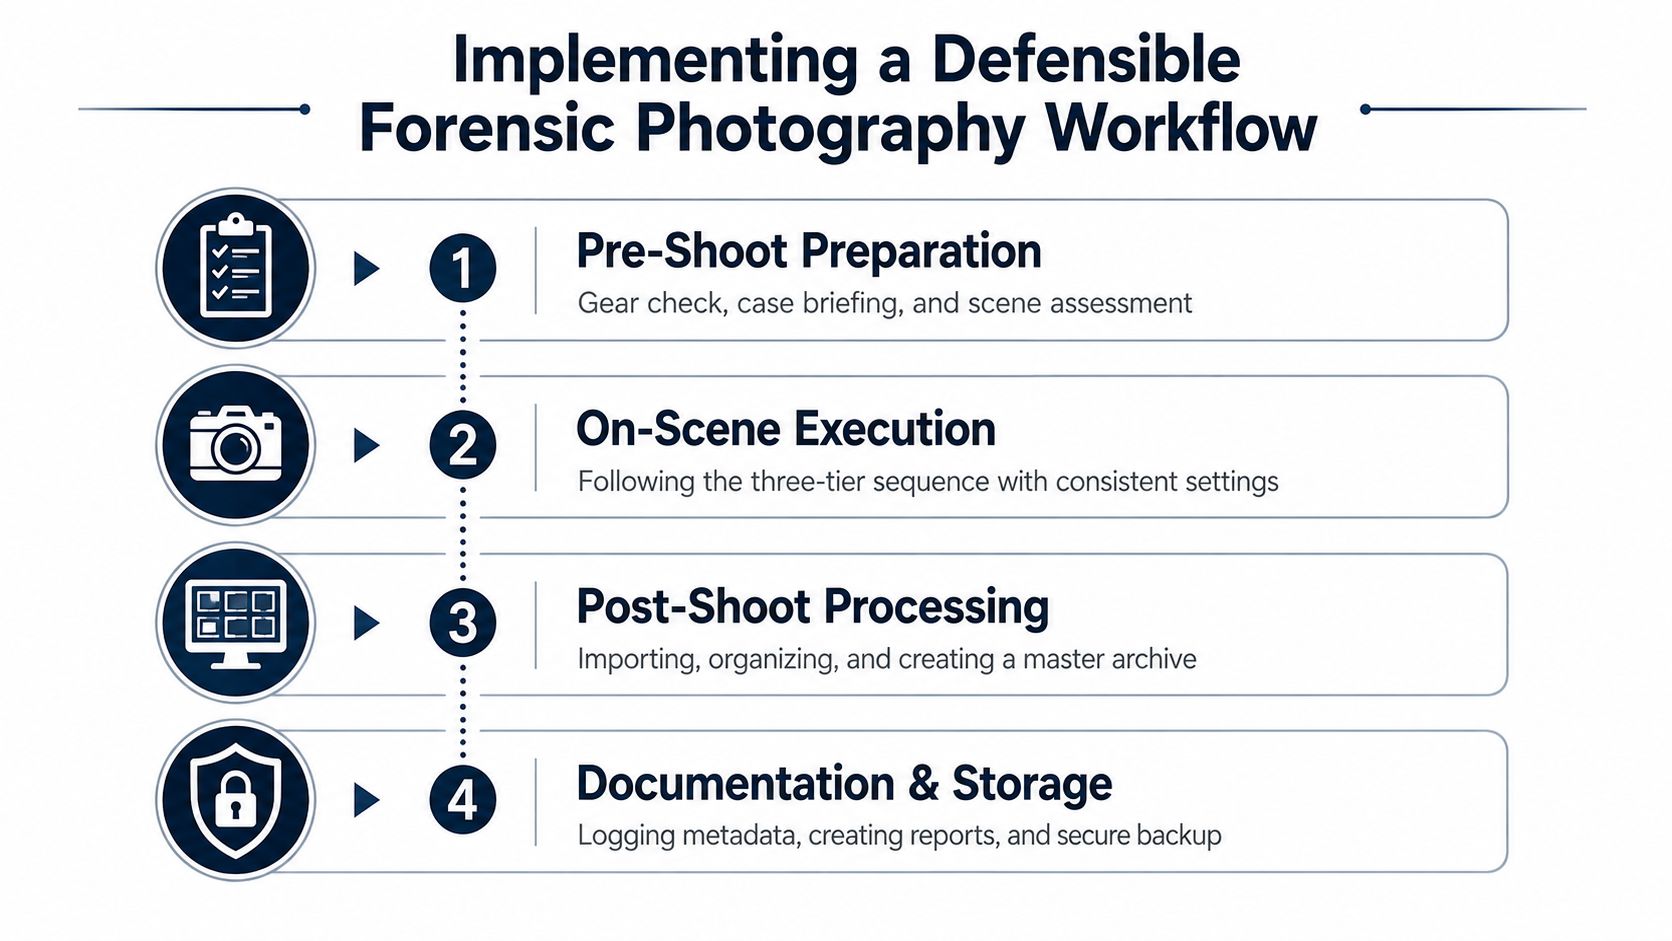
A defensible workflow begins before the camera is lifted. Confirm the case identifier, inspect the equipment, assess lighting and weather where relevant, and determine whether scales, color references, markers, protective covers, and backup storage are available. The scene or body should be photographed as found before collection, movement, cleaning, or reconstruction.
Use this practical order:
- Prepare and assess: Confirm identity, equipment, lighting, privacy, and the documentation plan.
- Capture in sequence: Make overview, mid-range, and close-up images. Include unmarked and marked views where needed.
- Preserve originals: Import files into controlled storage, establish a fixity baseline, and use copies for processing.
- Complete the record: Finalize the photo log, handling history, metadata, report references, and secure retention.
The most frequent weaknesses aren't always camera failures. They include incomplete coverage, missing scales, inconsistent alignment, altered evidence positions, undocumented processing, and gaps in access records. A technically excellent close-up cannot repair a missing overview or unexplained file history.
When photographs need to be explained to a jury, a scientific illustration for litigation may provide a separate visual aid, but it should never be confused with the original photographic evidence. Attorneys and agencies can also review how photographic findings relate to testimony in our discussion of the photography expert witness.
For families, attorneys, and Texas county officials, the practical question is whether the complete record can be understood and defended later. That requires medical interpretation, technical discipline, and respectful handling from the first image through final testimony.
Texas Autopsy Services provides independent private autopsy services, second-opinion reviews, digital documentation, licensed in-house transport, and forensic pathology support across all 254 Texas counties. If forensic photographs or an unclear cause of death have raised questions, visit Texas Autopsy Services to contact our team directly and discuss the appropriate next step with compassion and confidentiality.